CS2 Mouse Wheel Jump Bind: Commands, Setup and Fixes
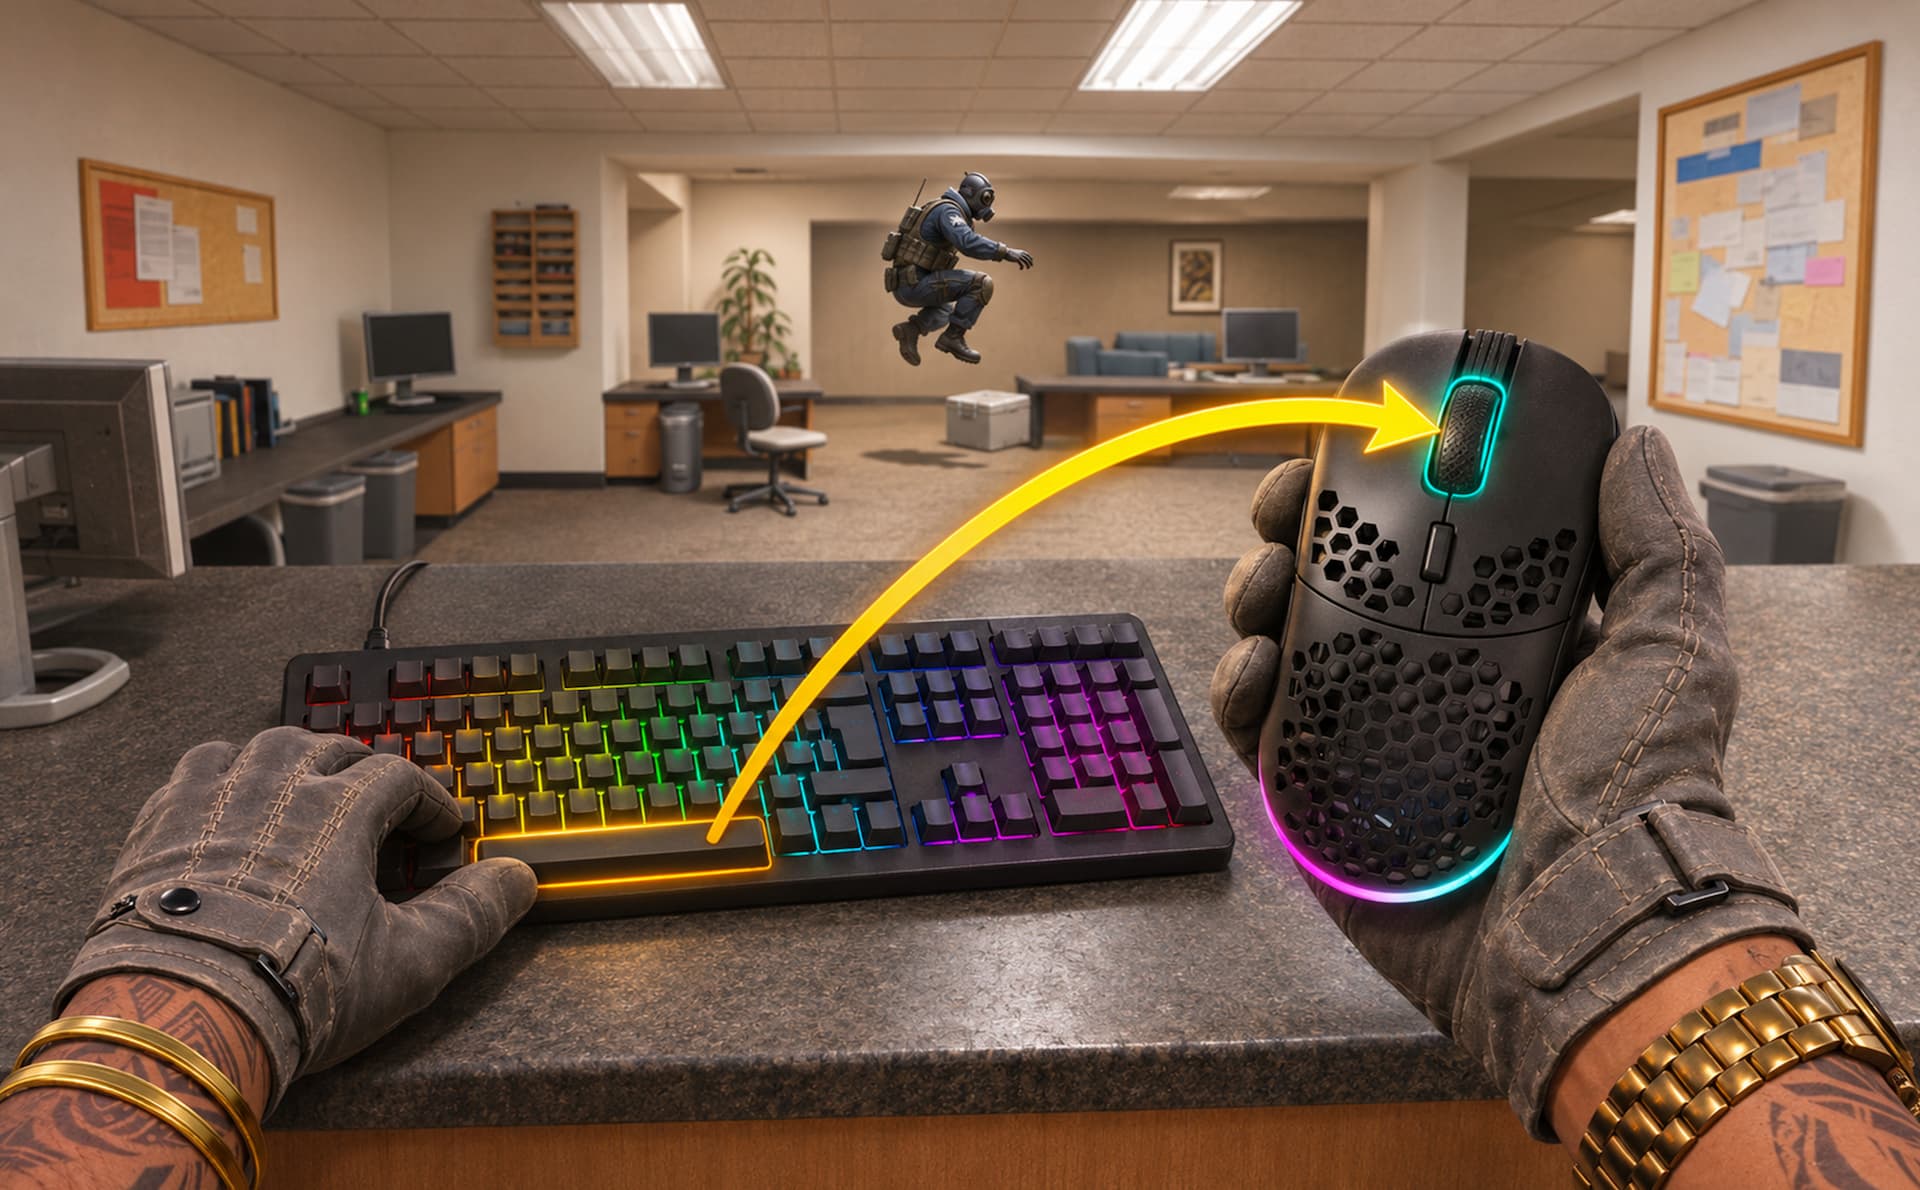
You can set your mouse wheel to jump without giving up Space (Got it? Giving up Space, HA!). This guide covers the commands, saving your settings, common fixes, and switching back to weapon scrolling. It also explains Valve’s rules for binds and changes to bhop timing. Follow the steps to get your jump bind ready for your next match.
Setting Up Scroll Jump
Open Settings > Game > Enable Developer Console (~) and select Yes. Press the backtick/tilde key. If it does not respond, assign another key to Toggle Console under Keyboard/Mouse.
Console Binds for Wheel Up, Wheel Down and Spacebar
Enter the command for each input you want to use, then press Enter.
Jump input
Console command
Scroll down
bind "mwheeldown" "+jump"
Scroll up
bind "mwheelup" "+jump"
Spacebar
bind "space" "+jump"
For wheel-down jump with Space still available, enter the first and third commands. Run all three to assign both scrolling directions and Space to jump.
Assigning Jump Through the Settings Menu
Go to Settings > Keyboard/Mouse > Movement Keys > Jump. Click the binding field and scroll in your preferred direction. Close the menu and check that scrolling makes your character jump.
Recheck Space afterward. If the menu assignment replaced it, restore it with this bind in the console:
bind "space" "+jump"
Loading Your Jump Binds With autoexec.cfg
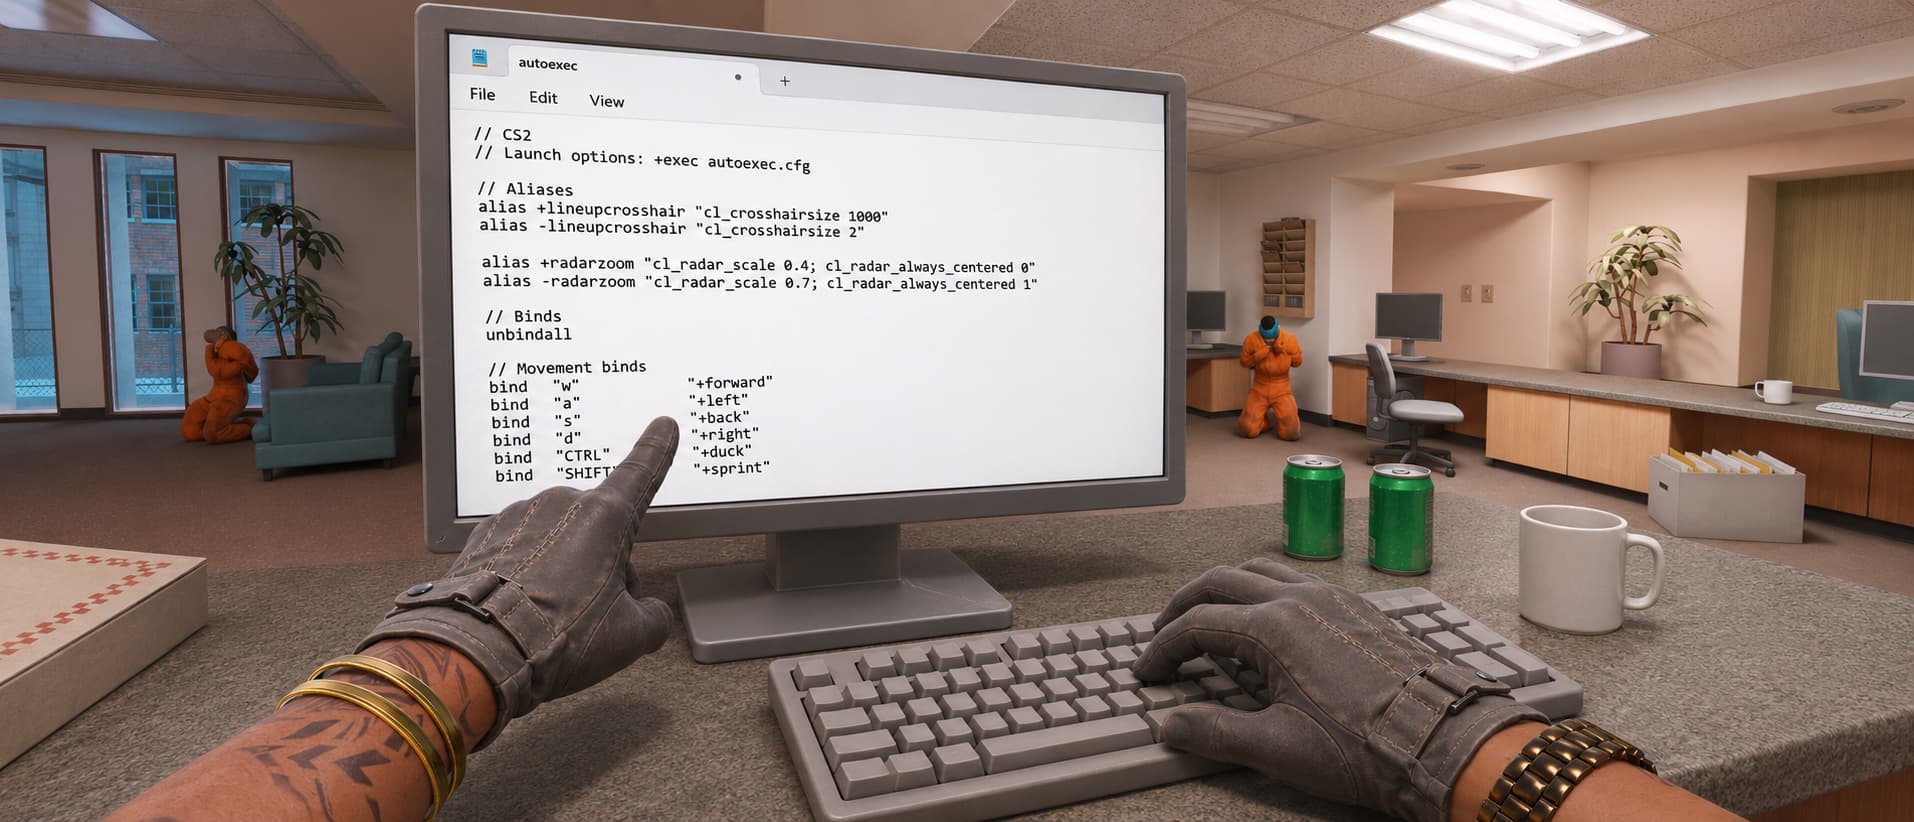
An autoexec.cfg file gives you a reusable copy of your controls. It is especially useful when settings change between sessions or you move your configuration to another computer.
In Steam, right-click Counter-Strike 2, then select Manage > Browse local files.
Open game > csgo > cfg inside the installation folder.
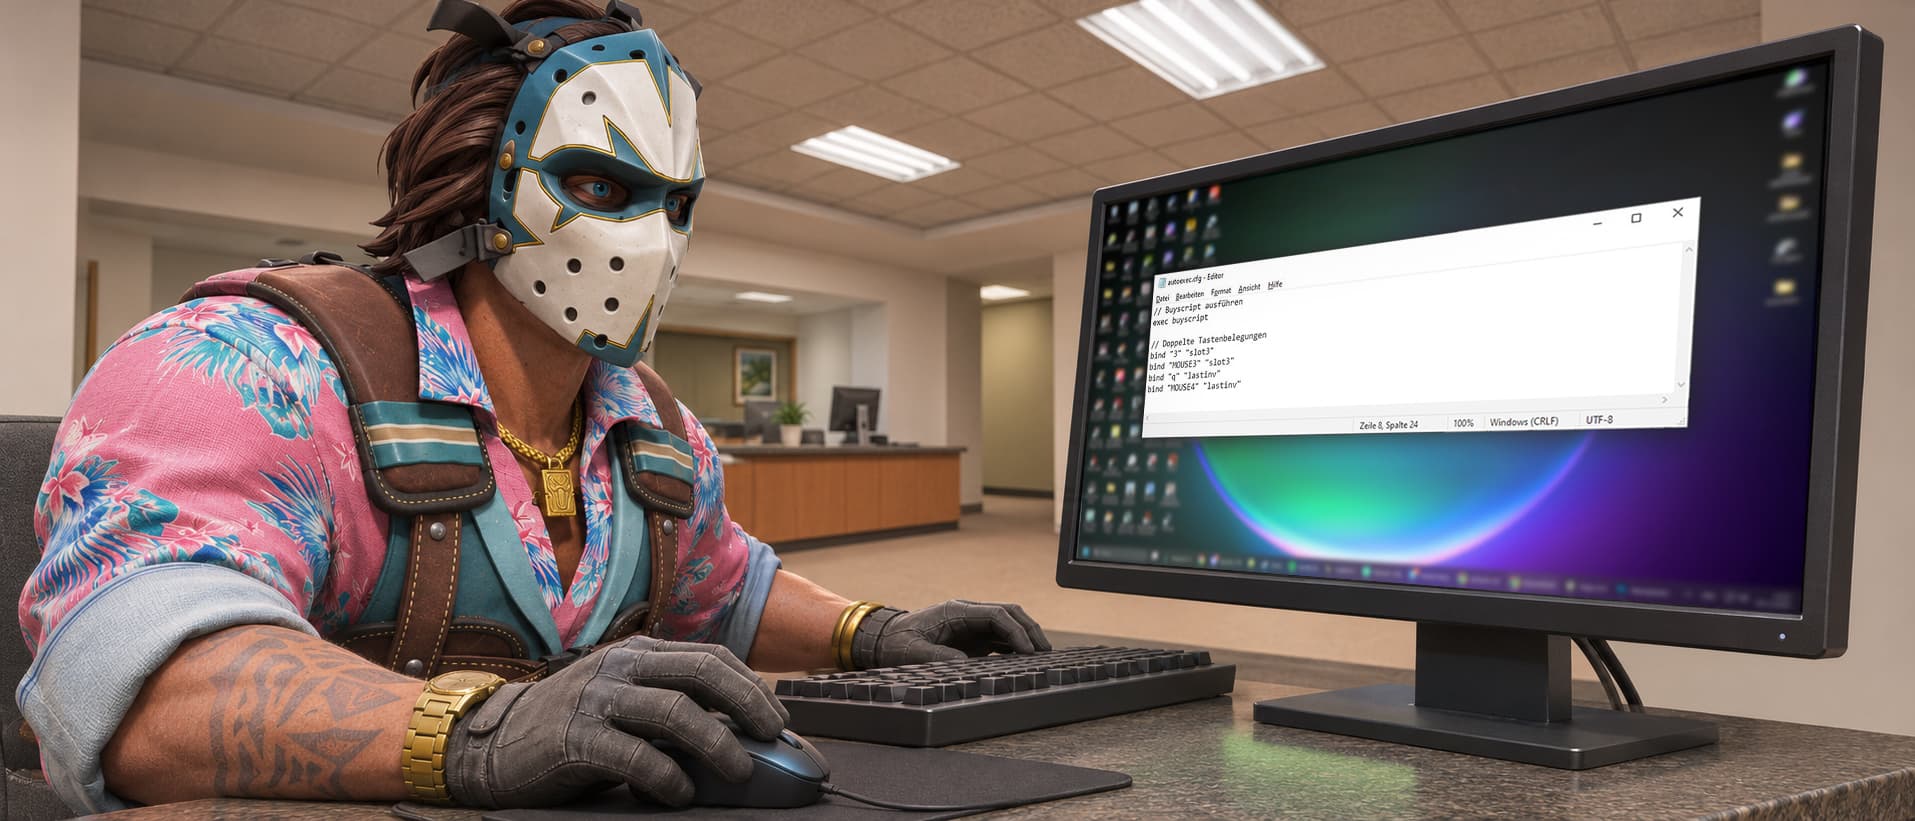
Create autoexec.cfg with a plain text editor, or open your existing file. Add your chosen bind commands on separate lines while preserving other settings.
In Steam > Counter-Strike 2 > Properties > General > Launch Options, add +exec autoexec.cfg. Keep any existing launch options, separating entries with spaces.
Check the filename carefully: autoexec.cfg.txt will not load as autoexec.cfg. In Windows Notepad, select All Files when saving.
Apply edits immediately by entering exec autoexec.cfg in the console. Restart CS2 afterward to confirm the configuration also loads on launch. If another configuration assigns the same wheel direction later, that later assignment takes priority.
Bunny Hop Timing After Valve’s Jump Changes
Scroll jumping makes repeated inputs easier, but chaining bhops still depends on landing timing. Valve’s January 2026 updates changed several movement rules:
January 21: Valve began calculating landing times with “subtick precision” and removed stamina costs from jumping and landing.
January 22: Vertical landing speed also began affecting the slowdown after touching the ground.
Bhop window: A jump must fall within sv_bhop_time_window around landing without being penalized by sv_jump_spam_penalty_time.
Private servers: sv_legacy_jump can restore the older jump behavior, so movement may differ from matchmaking.
Scroll Jump and Valve’s Input Restrictions
Valve’s August 19, 2024, announcement, “Side-stepping Skill,” said players suspected of “automating multiple player actions from a single game input” could be kicked from official matches. Its accompanying update disabled binds combining multiple listed movement or attack actions by default.
A plain bind "mwheeldown" "+jump" assigns one action to one input, so it falls outside that multi-action restriction.
Fixing Conflicting Binds and Accidental Jumps
If scroll jump behaves unexpectedly, check the bind first, then work through your saved settings and mouse controls.
Check the current bind. Enter bind "mwheeldown" or bind "mwheelup" in the console. If it shows weapon switching or another action, reapply the matching +jump bind.
Check what loads on launch. Remove conflicting assignments from autoexec.cfg and other loaded configs. If the file will not run, verify its folder and .cfg extension.
Check the input. Retype the jump command, keeping the + in +jump, and check your mouse software for wheel remapping. Restore Space with bind "space" "+jump" if needed.
Cut down accidental jumps. Bind only one scroll direction and use notched scrolling if available. To disable an unwanted direction, enter unbind "mwheeldown" or unbind "mwheelup".
Unbinding leaves that direction empty; it does not restore weapon switching.
Restoring Weapon Switching on the Scroll Wheel
To return both wheel directions to weapon selection while keeping jump on Space, enter these commands:
bind "mwheelup" "invprev"
bind "mwheeldown" "invnext"
bind "space" "+jump"
invprev selects the previous inventory item, while invnext selects the next. Replace the corresponding entries in autoexec.cfg too, or the old jump binds will return when it runs. Test both directions and Space in practice before your next match.
An analyst, amateur commentator, and author of platform reviews and guides on CSSpot. In his articles, Mikhail draws on his many years of experience watching and analyzing professional-level games.
FAQ
How do I bind jump to the mouse wheel in CS2?
Enable the developer console under Settings > Game, then open it. Enter bind "mwheeldown" "+jump" for scroll down or bind "mwheelup" "+jump" for scroll up.
Why is my CS2 mouse wheel jump bind not working?
Check the assigned action with bind "mwheeldown" or bind "mwheelup", then reapply the correct +jump command. Remove conflicting binds from loaded configuration files and check mouse software for wheel remapping. If using autoexec.cfg, verify its location, filename and launch command.
How do I remove mouse wheel jump and restore weapon switching in CS2?
Enter bind "mwheelup" "invprev" and bind "mwheeldown" "invnext" to restore weapon scrolling. Keep Spacebar jump with bind "space" "+jump". Update the same bindings in autoexec.cfg if used, so the jump binds do not return when the configuration loads.